Vista View installation & flagpole holder
We broke for lunch and a break for everyone, after the new window was installed. Emma, Eleanor, David, and I all piled into Rich C's trailer and had a lively discussion about pretty much everything. Then Eleanor, Emma, and Rich played Uno while I caught up on some email.

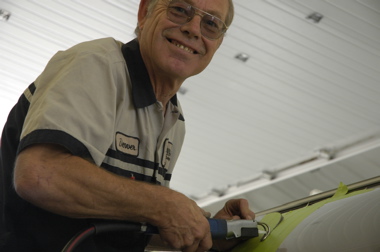
If yesterday's window installation wasn't enough to curdle my blood, you should have seen me watching the process of installing the Vista View windows. Denver and David believe in "measure twice, cut once" but still it was disconcerting to see Denver finally take an air-powered tool to the pristine skin of our Airstream and slice it open.
In fact, you can see some of my reaction on Rich C's video blog. Click on the "VIDEO MOV" link on Rich's post if you have broadband. Denver pulled away a piece of the aluminum and found he'd sliced right through the TV antenna cable. Rich caught the whole thing on video. Oh well, the antenna cable is fixable.
Right now they are just about done cutting. The first Vista View should be going in shortly. Meanwhile, David is working on the mounts for the solar panels. Hopefully one of them will go up on the roof before the end of the working day.

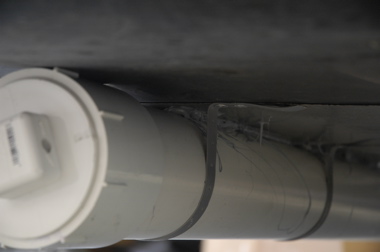
Blog reader Mark W asked for a photo of our flagpole holder. It's made of 4" PVC Schedule 40 pipe with female screw-threaded couplings and screw-in caps on each end. It is big enough to hold all three of the 1.5" diameter collapsable flagpoles we carry.

We used plastic "plumbers tape" (vinyl strapping) double-riveted to the frame, to mount it. Since it could wiggle a bit even with the strapping tight, I also bonded it to the belly pan with Sikaflex caulk. Now it does not move at all. If you do this, be sure to clean the belly pan beforehand.
In the photo you can see a hole drilled in the cap. The threads on these plastic caps tend to stick in place, so the hole is there to allow me to insert a tool (the same one I use for the Rotochoks) and get leverage to remove the caps.
This is an easy do-it-yourself project if you have the rivet tools, drill, jack, and materials. My total cost was about $35 for materials (pipe, pipe cement & primer, rivets, misc).